DIY Spring Kitchen Linens
Hi! I am Elizabeth from Simple Simon and Company, where I blog with my sister-in-law who is also Elizabeth. Confusing? Yes, very. We married brothers if that helps to fill in the story. At Simple Simon and Company we love all things sewing, DIY-ing, crafting and the art of homemaking and we LOVE simple projects. You know the kind that can be finished in an afternoon….yep, those are our favorites.
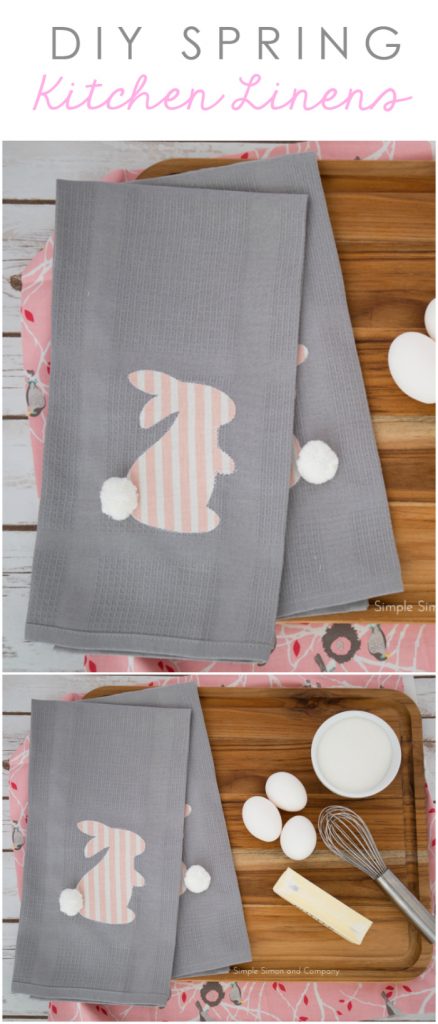
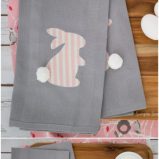
Today’s project is DIY Spring Kitchen Linens that are simple but will definitely add some cheer to your home this Spring. And did I mention that they are fast to make? Well they are….three easy steps!
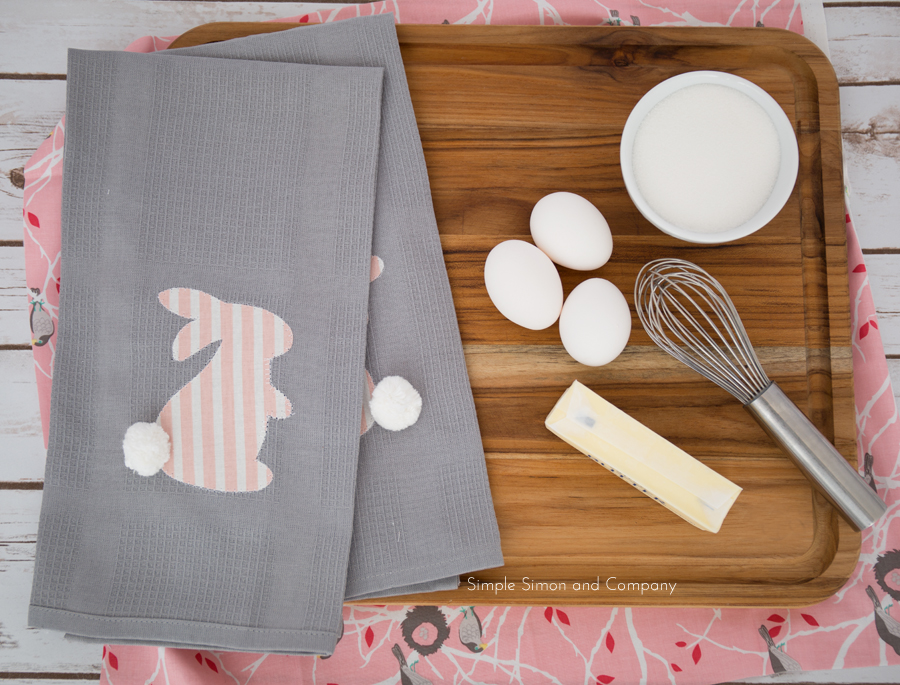
- 2 Kitchen Linens (these are from IKEA)
- a piece of fabric
- a bunny image (google is your friend with some great ones!)
- Heat n’ bond to iron the fabric onto the linens
- 2 white pom poms
- a needle and thread to attach the pom pom
And here’s how you make it:


Thanks for having us here today…. and we hope that you will come and visit us at Simple Simon and Company for more easy sewing projects and tutorials.
-Elizabeth
Okay so MY sister-in-law’s name is Kristin… and I am Kristi. We have the same last names now (we also married brothers) so I totally get the whole shared married name thing that these Elizabeth’s have! LOL. 🙂 A huge thanks to these cute sewing SIL’s for being here! Oh, and besides offering a free quilt block each month, Simple Simon and Co. has some stinkin’ cute tutorials… including these:
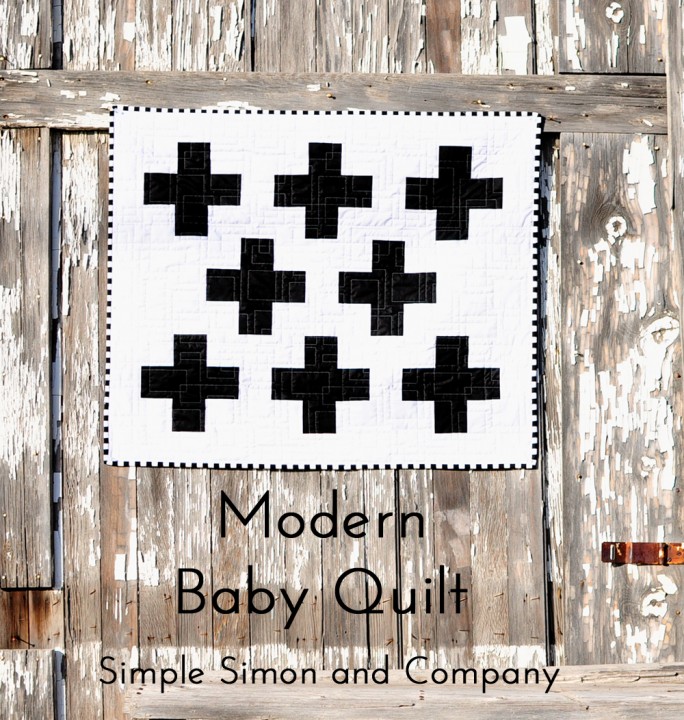
Love Bunny | Modern Baby Quilt | DIY Pleated Skirt
DIY Spring Kitchen Linens
Materials
- 2 Kitchen Linens
- a piece of fabric
- a bunny image
- Heat n’ bond to iron the fabric onto the linens
- 2 white pom poms
- a needle and thread to attach the pom pom
Instructions
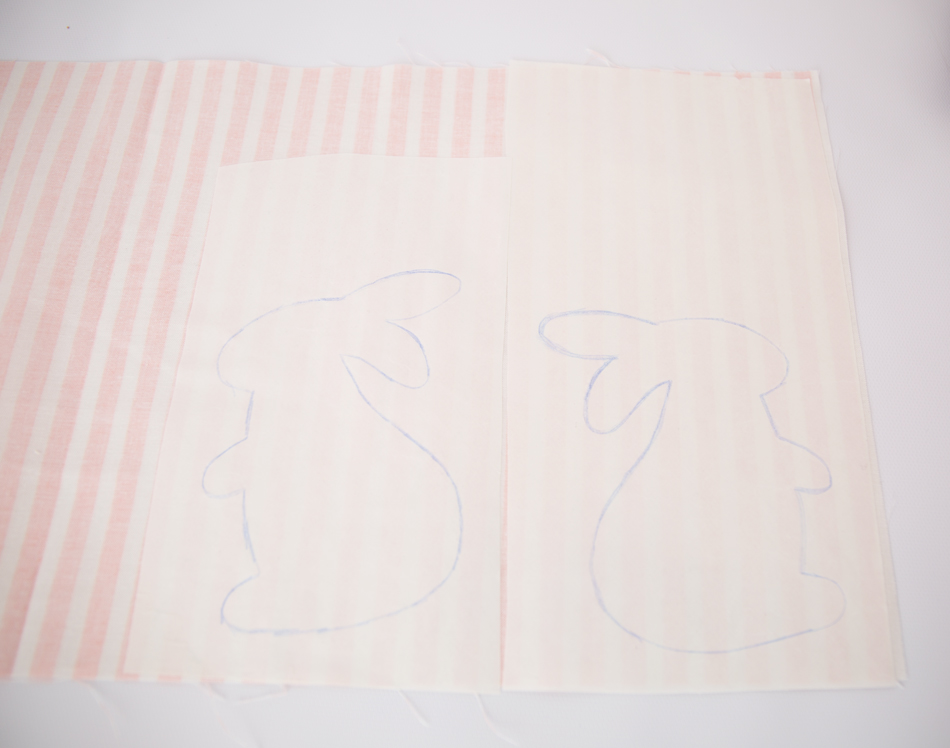
- Iron your heat n’ bond to your WRONG side of your fabric then trace your image onto the paper side of the heat n’ bond. (Your image will be reversed on the front side so keep that in mind.)
- Cut out your shape, then peel the paper backing off the heat n’ bond and press the bunny onto the RIGHT side of your kitchen towel. Stitch around the edge to hold it in place.
- Stitch the pom pom tail on the kitchen towel with your needle and thread and you are done!


Yep, Melissa! Heat and bond first then hand stitch around the edges. And we’re happy you’re spending your time on our site, muah ha hah! Work is overrated (;
Did you stitch that by hand? Apologies if I missed it. I’m at work and on my phone! 😉
I feel that, lol!! XO
I like this! Thank you for sharing. I’m not very comfortable with sewing an appliqué using the sewing machine, it’s so much easy by hand ( crazy, uh?)
xxx
Thanks Anne! You ROCK! 🙂
Cute!! I’ve got a Craft Gossip post scheduled for later this afternoon that links to your tutorial:
http://sewing.craftgossip.com/tutorial-pom-pom-bunny-kitchen-towels/2015/02/22/
–Anne
Thanks Crystal, that is a fun color combo for sure. I tend to wear pink and gray a lot, actually! 😀
Totally agree, Paige! Bunnies are soooo cute this time of year, Liz nailed it! xoxo
Ahhh quite possibly the cutest bunny towels EVER! I’m partial to bunnies anyway ,but ass cute huge cottontails , grey & pink… Ahh ,perfect!!!
Paige.Rose
So adorable!! Love the colors you chose with the gray and pink. Love it!!
Darn it, so sorry! We are having unseasonably gorgeous spring weather right now, sending you warm vibes from AZ 😉
Wow, with all this snow I’d forgotten spring is coming up! These towels are so cute – love it!